What Should You Check Before Approving a Polo Sample?
Table of Contents
Before approving a polo sample, check the fabric, colour, measurements, fit, collar, placket, sleeves, logo, stitching, labels, and packaging against your approved specifications. You should also wear and wash the sample rather than judging it only from photographs.
A sample that looks acceptable on a table may still have fit, comfort, shrinkage, or construction problems. At Mingxingpolo, sample approval establishes the reference for bulk production, so every requested change should be confirmed clearly before approval.
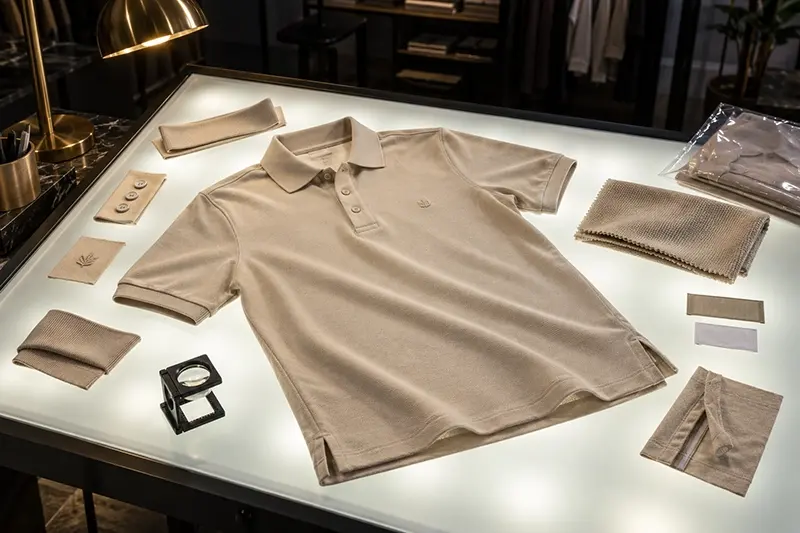
Confirm What Type of Sample You Received
Not every sample represents the final bulk product. Before reviewing it, ask the manufacturer what the sample is intended to confirm.
A development sample may use an available fabric, temporary buttons, or substitute labels. Its main purpose is often to check the shape and construction.
A pre-production sample should be much closer to the final order. It should normally use the approved fabric, colours, trims, branding, measurements, and sewing methods.
Confirm whether the sample includes:
- Final bulk fabric
- Correct fabric colour
- Approved buttons and trims
- Final embroidery or printing
- Correct labels and hang tags
- Intended packaging
If any material is temporary, record what will change in bulk production. Do not assume that an incorrect detail will automatically be corrected later.
Check the Fabric and Hand Feel
Start by confirming the fabric composition, knit structure, GSM, colour, stretch, and surface appearance.
Hold the sample under natural light and compare it with the approved fabric swatch. Indoor lighting can make navy, black, grey, and other dark colours appear different.
Feel the fabric and ask:
- Is it as soft or structured as expected?
- Does the weight match the approved specification?
- Is the piqué texture too coarse or too flat?
- Does the fabric stretch and recover properly?
- Is it transparent under normal light?
- Does it feel suitable for the intended climate and use?
A corporate polo may require structure and wash durability, while a golf polo normally needs a lighter and more flexible feel. The same fabric should not be selected for every market.
If the sample uses substitute fabric, use it only to approve fit and construction. Final fabric approval should still be completed through the Fabric Selection process before bulk cutting.
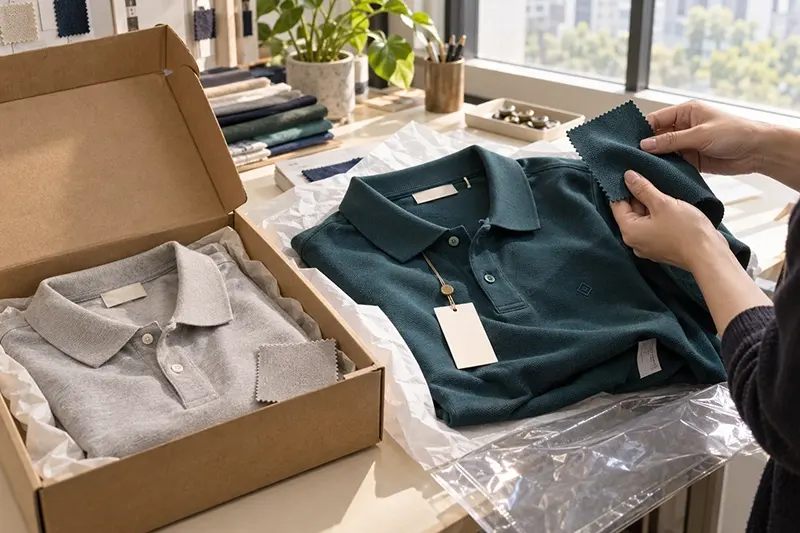
Verify the Colour
Compare the polo shirt with the approved Pantone reference, lab dip, or fabric swatch. Review it in natural daylight and under the lighting normally used by your customers.
Minor colour differences can occur between a paper Pantone guide, a digital screen, and dyed fabric. The goal is to confirm an acceptable physical standard before production.
Check whether the body, collar, cuffs, sewing thread, buttons, and logo colours work together. If the collar and cuffs are knitted separately, they may not appear identical to the body fabric.
Also inspect the colour across the entire garment. Uneven dyeing, marks, shading, or visible panel differences should be discussed before approval.
Measure the Sample Correctly
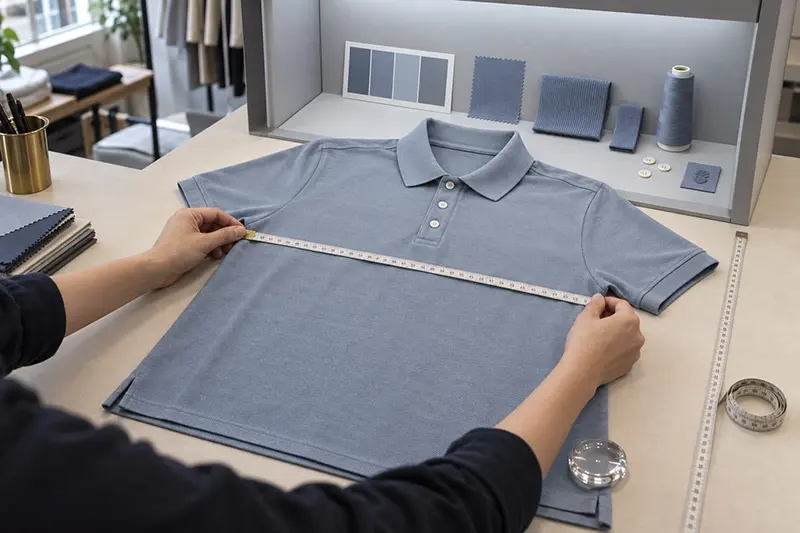
Lay the polo flat on a clean surface without stretching it. Close the buttons and smooth the fabric naturally before measuring.
Compare the sample with the size chart or measurement specification. Important points normally include:
- Half chest
- Body length
- Shoulder width
- Sleeve length
- Sleeve opening
- Bottom width
- Armhole
- Collar width
- Placket length
Ask the manufacturer which measurement method is being used. For example, body length may be measured from the highest shoulder point or from another reference point. Different methods can produce different results even on the same garment.
Small measurement variations are normal in sewn products, but they should remain within the agreed tolerance. Record the actual sample measurements instead of writing only “too loose” or “too short.”
Try On the Polo Shirt
Measurements alone cannot confirm the complete fit. The sample should be tried on by someone close to the intended base size and customer profile.
Check the polo from the front, side, and back. Look at:
- Chest comfort
- Shoulder position
- Sleeve angle
- Arm movement
- Body length
- Hem balance
- Side seam position
- Fit across the back
- Neck and collar comfort
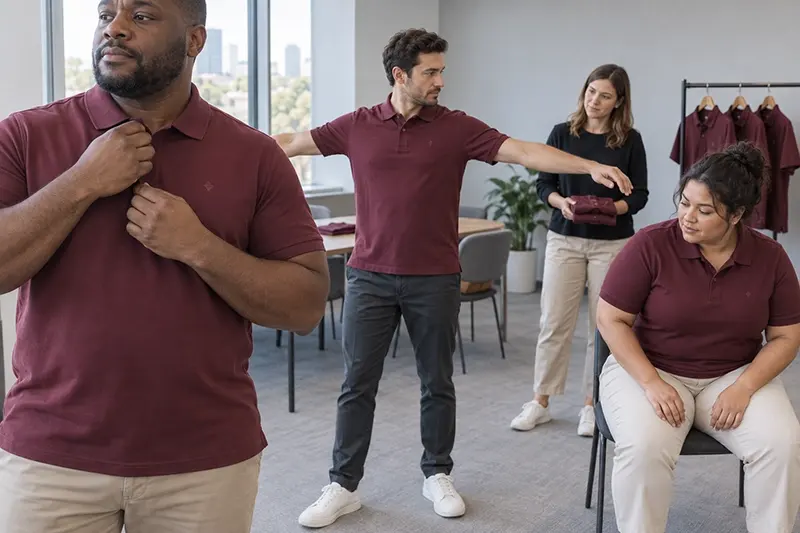
Raise both arms, sit down, and move naturally. A polo can look correct while standing still but feel restrictive during movement.
For uniforms, consider whether the shirt will be tucked in and whether employees may wear a base layer underneath. For golf apparel, test shoulder rotation and arm movement.
When reviewing Custom Corporate Polo Shirts, also consider how the fit will work across different body types rather than approving it on one model alone.
Inspect the Collar
The collar is one of the most visible parts of a polo shirt and strongly affects its overall quality.
Check whether it lies evenly on both sides and sits cleanly around the neck. The collar points should be balanced, and the edge should not wave, curl, or twist.
For a flat-knit collar, inspect the rib structure, firmness, colour matching, tipping, and shape recovery. For a self-fabric collar, check that the fabric is properly stabilised and does not collapse.
Button the polo completely and then wear it with the top button open. The collar should look balanced in both conditions.
A collar that already curls or twists on the sample may become worse after washing, so this issue should not be ignored.
Review the Placket and Buttons
The placket should be straight, flat, and centred. Check whether the top and bottom layers align correctly and whether the lower end is cleanly finished.
Open and close every button. Buttonholes should be neat, correctly sized, and free from excessive loose threads. Buttons should feel secure but should not be difficult to use.
Confirm:
- Number of buttons
- Button size and colour
- Button material
- Button spacing
- Placket length
- Buttonhole direction
- Spare-button requirement
If your design uses contrast fabric inside the placket, make sure it remains hidden when the polo is worn normally unless it is intended to be visible.
Check the Sleeves, Cuffs, and Hem
Compare both sleeves to make sure they have the same length, shape, and opening. The sleeves should hang naturally without twisting forward or backward.
If the design uses ribbed cuffs, check their stretch, recovery, width, and pressure on the arm. A cuff that is too tight can be uncomfortable, while a loose cuff may lose its shape quickly.
Inspect the bottom hem and side slits. The hem should lie flat without roping or waviness. Side slits should have equal lengths and secure reinforcement at the top.
If the back hem is longer than the front, confirm that the difference matches the approved design.
Inspect Embroidery or Printing
Check the logo at normal viewing distance before examining it closely. It should look clear, balanced, and correctly positioned on the garment.
For embroidery, review:
- Finished width and height
- Thread colours
- Letter readability
- Stitch density
- Fabric puckering
- Loose or skipped stitches
- Backing appearance and comfort
For printing, check colour, detail, surface feel, edge definition, adhesion, and whether the fabric has been marked by heat or pressure.
Measure the logo position from agreed reference points. Do not approve it based only on whether it “looks close.” Its location should be recorded so the same standard can be repeated during production.
The Embroidery & Printing result should also be reviewed after washing, especially when working with stretch fabric, polyester, or a new decoration process.
Examine Sewing and Construction
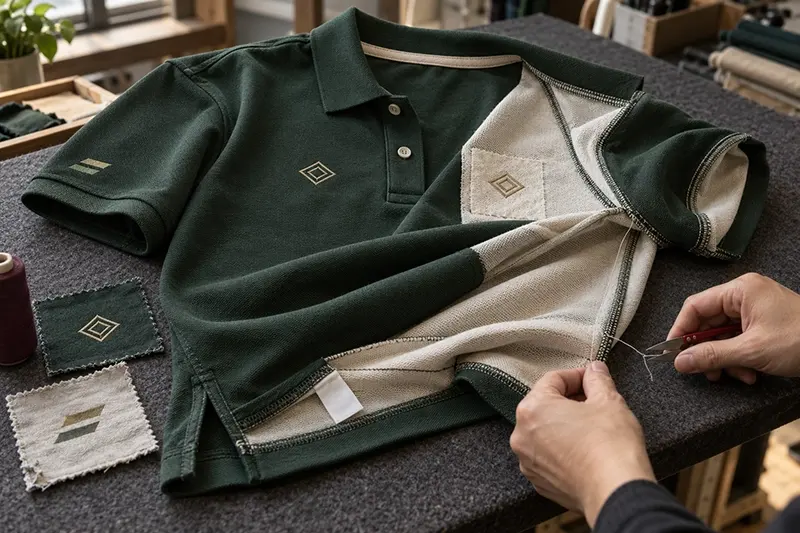
Turn the polo inside out. Interior construction often reveals problems that are less visible from the outside.
Look for:
- Straight and even stitching
- Secure seam ends
- Clean thread trimming
- Consistent seam allowance
- No skipped stitches
- No open seams
- Smooth shoulder tape
- Reinforced side slits
- Correct care-label attachment
Gently stretch the main seams to check whether the stitching remains secure. Pay particular attention to armholes, shoulders, sleeve hems, side seams, and the bottom of the placket.
One imperfect sample does not always mean the construction method is wrong, but the issue should be identified and corrected before approval.
Confirm Labels and Packaging
Check every branding and information item included in the order:
- Main neck label
- Size label
- Care and composition label
- Country-of-origin information
- Hang tag
- Barcode or sticker
- Polybag
- Carton markings
Make sure the spelling, font, logo, fibre content, washing symbols, size, and placement are correct. Label errors can affect retail presentation and may also create compliance problems in the destination market.
Confirm whether each polo will be folded in a specific way and whether the collar requires support during packing. The approved Label & Packaging details should be recorded rather than communicated only through messages.
Wash the Sample Before Approval
A wash test can reveal problems that are not visible on a new garment.
Follow the care instructions intended for the final product. After washing and drying, inspect:
- Fabric shrinkage
- Colour fading or bleeding
- Collar curling
- Body twisting
- Seam puckering
- Logo distortion
- Print cracking or peeling
- Button and label condition
- Changes in hand feel
Measure the garment again and compare the results with the original measurements. If the polo will be used as a frequently washed uniform, consider repeating the test more than once.
Do not approve the sample first and plan to check washing performance after production. By then, correcting the issue may be expensive or impossible.
Record Every Requested Change
Avoid sending feedback such as “make it better,” “slightly smaller,” or “move the logo up.” These comments can be interpreted differently by each person involved.
Use measurable instructions instead:
- Reduce half chest by 1 cm.
- Shorten body length by 2 cm.
- Increase collar height by 0.5 cm.
- Move the logo 1 cm toward the placket.
- Change the logo width from 9 cm to 8 cm.
- Match the button colour to the approved fabric swatch.
Mark each change on photographs or a comment sheet. Then ask for an updated specification or revised sample.
The Development & Sampling process should close all open comments before the order moves into bulk production.
Final Thoughts
Approve a polo sample only after checking it against the agreed specifications, trying it on, measuring it, and testing it after washing. Any remaining differences or approved exceptions should be recorded in writing.
Once everything is confirmed, the sealed sample can become the reference for Production and quality inspection. To develop or review a custom polo sample for your project, contact us with your tech pack, artwork, quantity, and target market.
FAQs
How long does a custom polo sample take?
A custom polo sample usually takes around 10–15 working days after the fabric, design, measurements, colours, and branding details are confirmed.
Should I approve a sample from photographs?
Photographs can help with preliminary feedback, but a physical sample is better for checking fabric feel, fit, measurements, colour, comfort, and washing performance.
Does the sample need to use the final fabric?
A pre-production sample should ideally use the approved bulk fabric. If substitute fabric is used, approve only the details it can accurately represent.
Should the sample be washed before approval?
Yes. Washing can reveal shrinkage, colour changes, collar curling, body twisting, seam puckering, and problems with embroidery or printing.
What happens after the polo sample is approved?
The approved sample, measurement chart, artwork, colours, and written specifications become production references. Any later changes should be confirmed before bulk manufacturing begins.
Share With
Related Articles




Hot Products